1. Remove the old coating over 25cm in height and 25cm below the detachment.
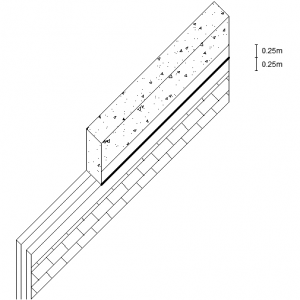
Fig 1: Removal of coating
- Washing the area with water, under low pressure, taking care that the surface remains wet until the application of mortar.
- Open holes with diameter, about 14mm, in about 1m distance, starting from the ends of the interface between beam-masonry.
- Placing small (temporary) metal inserts (diameter D10 or D12) in the holes.
- Application of INTOSANA mortar by AZICHEM inside the detachment area, using small trowel.
- Apply first coat of mortar INTOSANA on a thickness of about 6mm and in widths of 25cm above and below the holes. Then install over the area a 50cm strip of fiberglass GT AR by BIEMME, with particular attention to the points of contact with the metal inserts.
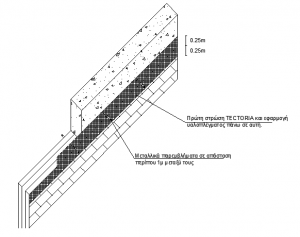
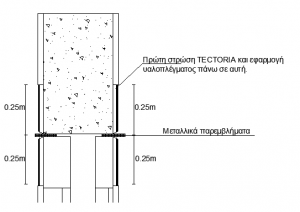
Fig 2,3: Installation of metal inserts and application of the first layer of mortar and fiberglass
7.Removal of metal inserts and fitting of ‘cord’ of special fiberglass FGC, diameter of 1cm, impregnated with epoxy resin ARMOFIX MTX by DRACO. The string is inserted 10cm into the hole and the remaining 10 cm, it is opened formatting an open circle that is glued with epoxy resin ARMOFIX MTX by DRACO on the mortar.
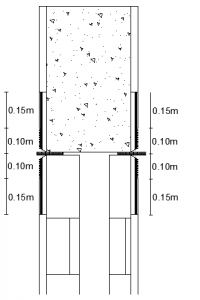
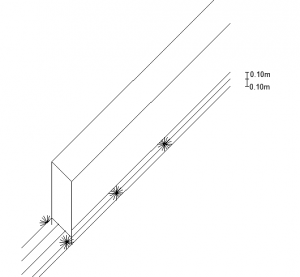
Fig 4,5: Installation of fiberglass cords
- Over the cord and the area apply an extra layer of mortar CALCE STORICA by DIASEN of about 6mm thickness, to fully cover the entire surface of the 50cm width.